Adorable DIY Twine Pumpkins Anyone Can Make in Minutes
This post is about how I made DIY twine pumpkins for fall. I promise you’ll be surprised at how quick and budget-friendly they are.
I’ve always loved decorating for fall, but sometimes the store-bought decorations can feel a little pricey or just not quite my style.
Have you ever wondered what your home decor style is?
That’s why I started making these sweet little DIY twine pumpkins. They’re so simple to put together, and I love how rustic and cozy they look sitting on my counter or tucked into a centerpiece.
You can save any of these images to your Pinterest account using the Pinterest share buttons on this page to easily find them again later.
DIY Twine Pumpkins
Let’s jump into how to make the pumpkins. First we’ll gather materials, do a little prep work, and then go through the full tutorial.
Gather Materials

Gather the following materials to complete this project:
- 1 pair of scissors
- 1 toilet paper roll
- 1 3-4″ twig
- 1 spool of natural jute twine
Prep
This easy DIY project requires very little prep. All you need to do is go outside and find a few thin twigs to use for the pumpkin stems.
You’ll need about a 3 or 4 inch twig for each pumpkin stem. I found a few long twigs and broke them up into smaller pieces.
This is a fun task to assign to your kids. You’ll probably end up with way more twigs than you need!
How To Make Twine Pumpkins

Here’s a step-by-step tutorial on how to make this cute fall craft:
Step 1: wrap the twine

The first step is to wrap the toilet paper roll in twine. I found that holding the end of the twine with my left thumb and using my right hand to wrap the spool around the roll was easiest.
Wrap from one side of the roll to the other, trying not to overlap the twine too much. The more times you wrap the twine, the thicker and fuller your pumpkin will be.
step 2: cut the twine

Cut the twine once you get to the end of the toilet paper roll. Make sure the twine doesn’t start unraveling.
step 3: feed twine through the roll

Find the end of your spool of twine and feed it through the toilet paper roll. This second piece of twine will be used to tie the first, wrapped, piece of twine together to form the pumpkin.
step 4: cut the second piece of twine

Cut the second piece of twine so that about an inch hangs out on either end of the toilet paper roll.
step 5: pull the twine off the roll

Hold onto the toilet paper roll with one hand and pull the wrapped twine off with the other hand. Make sure the second piece of twine stays on the inside of the wrapped twine.
step 6: tie the second piece of twine

Find the two ends of the second piece of twine and tie them together. When you pull the knot tightly, the wrapped twine will form a bit of a semi-circle shape.
step 7: cut the twine ends

Gather all 4 loose ends of the twine and cut them. Don’t cut them too close to the knot. I left about a centimeter of space to avoid the knot coming undone.
step 8: move the twine into a circle

Next, we’ll form the pumpkin shape. Hold the pumpkin in one hand and use your other hand to pull the edges of the pumpkin around into a circle shape.
Take your time fluffing out the pumpkin and making it look symmetrical.
step 9: place the twig in the pumpkin

The last step is to put the twig into the pumpkin! This step is super easy. Just wiggle the twig into the center of the pumpkin. I found that twisting the twig helped shimmy it in.
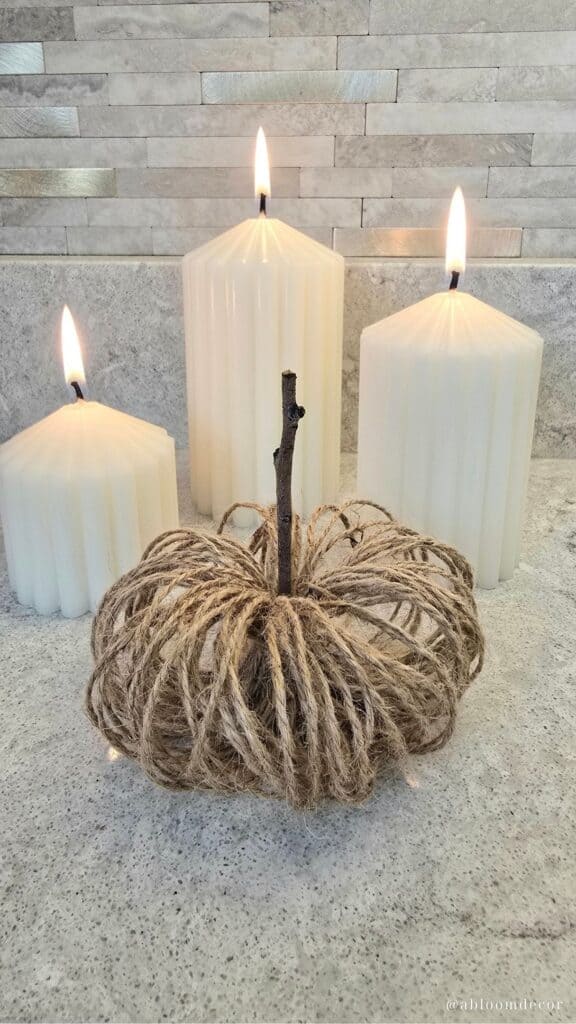
And there you go, you’ve got a super cute twine pumpkin to use for fall!
How to Style Twine Pumpkins
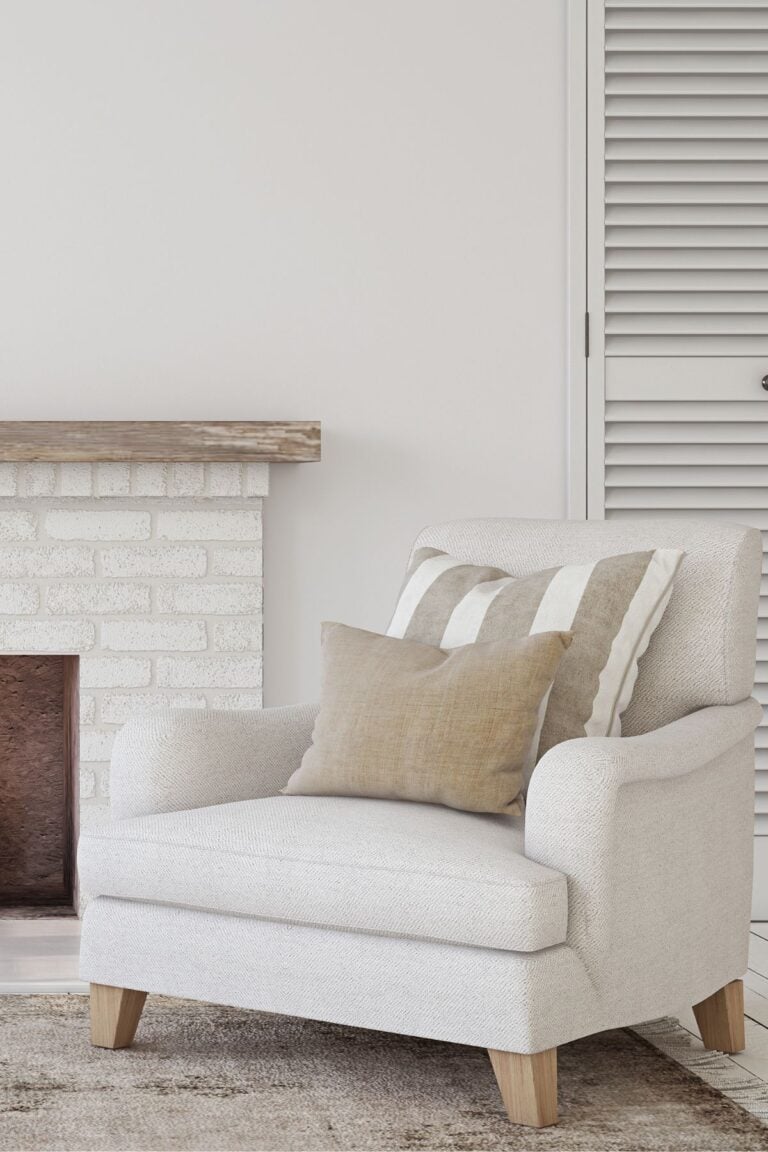
These versatile pumpkins can be used almost anywhere, but I think they look best on a shelf, mantel, or a decorative tray.
The trick is to play with vertical space by placing one or two pumpkins at the base level and another pumpkin on top of a stack of books or a decorative box.
These pumpkins look great next to candles, a vase of fall stems, and rustic autumn decor pieces. You can also get different colored twine, like black, white, and natural, to layer in depth and match different aesthetics.
Similar Posts You’ll want to see
Conclusion
These twine pumpkins turned out even cuter than I imagined, and I love that they add such a cozy look without spending a fortune.
They look great on shelves, in baskets, or even as part of a dining table display. The best part is, they’re easy enough to make a whole set in just one afternoon.
If you give them a try, I know you’ll enjoy how fun they are to create and how charming they look in your fall decor.
PIN IT TO REMEMBER IT
Don’t forget to pin this so you can refer back to it later!

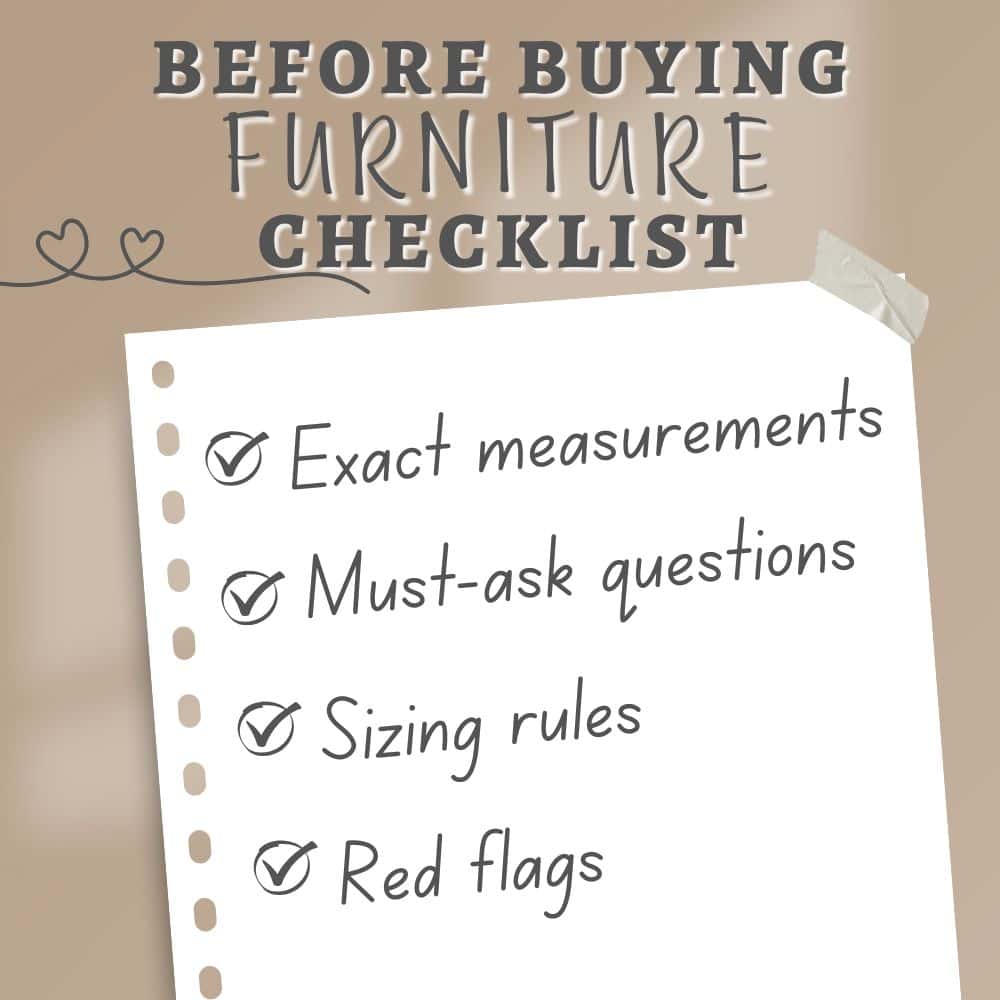
Before buying furniture, get this free checklist!
The measurements, sizing rules, and 10 must-ask questions that save you from returns, regrets, and wasted money.