Glowing Pinecone DIY Fall Centerpiece You’ll Want on Your Table All Season
This post is all about how I made this super cozy, glowing pinecone fall centerpiece!
When fall rolls around, I always look for easy ways to make my home feel extra cozy. There’s just something about warm light and natural textures that I love.
Have you ever wondered what your home decor style is?
This glowing pinecone centerpiece brings both together in the prettiest way, and the best part is, it’s simple enough for anyone to make. I’m so excited to share how I put mine together so you can enjoy the same cozy glow in your home this season.
You can save any of these images to your Pinterest account using the Pinterest share buttons on this page to easily find them again later.
DIY Fall Centerpiece
Let’s jump into how to make the centerpiece. First we’ll gather materials, do a little prep work, and then go through the full tutorial.
Gather Materials

Gather the following materials to complete this project:
- Large Vase
- Small Vase (the small vase should be the same height as the large vase, and the diameter should be at least 2″ less than the diameter of the large vase)
- Fall Bouquet
- Fairy Lights
- Miniature Pinecones (approx. 200 pieces)
- Scotch Tape
Prep
This fall DIY project requires little prep work. All you need to do is put together your fall bouquet, which can be made with any combination of fall stems or flowers.
I used fall eucalyptus leaves and had to cut them to fit my vase. The cool part is that you can reuse the centerpiece for Thanksgiving and Christmas, too—just swap out the bouquet based on the season.
Another thing you can do to prepare is check your local thrift store for vases. I used two vases that I found at my thrift store, and it saved me so much money!
How To Make This DIY Centerpiece

Here’s a step-by-step tutorial on how to make this pinecone centerpiece:
Step 1: wrap the small vase
The first step is to wrap the small vase with fairy lights.
I used two 7-foot fairy light strands. To help keep the lights in place as I wrapped, I used a small piece of tape at the bottom of the vase.
Once I finished wrapping the vase, I used another small piece of tape to hold them in place at the top of the vase.
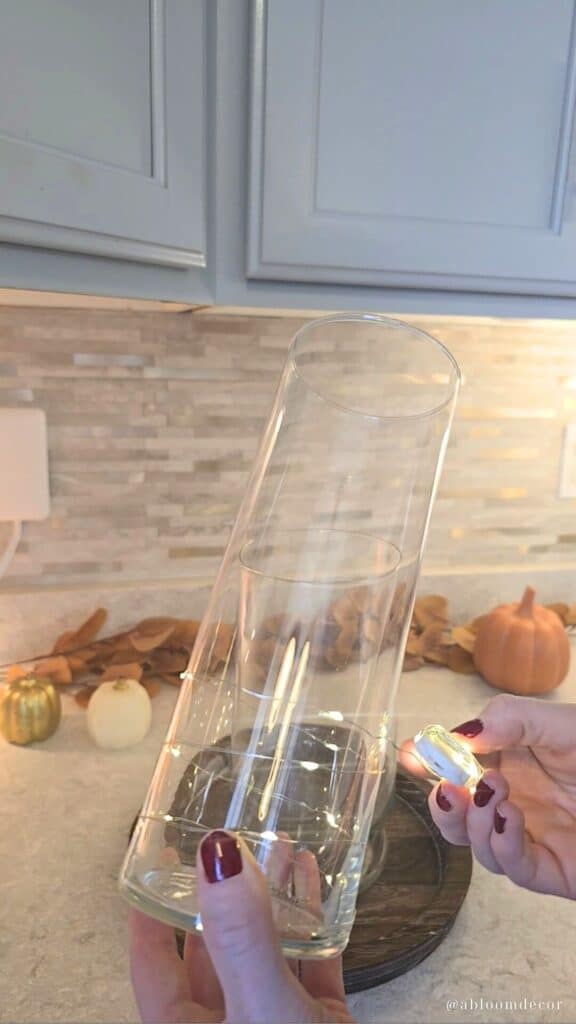
step 2: place the small vase inside

Next, place the wrapped, small vase inside the large vase.
step 3: fill with pinecones

Now, fill the space between the two vases with the miniature pinecones. It’s really important that there’s at least 1″ of space on all ends so that the pinecones fit.
Some of the larger pinecones got a little stuck in places, and I just wiggled the small vase or used a stick to push them down. That only happened a couple of times. Otherwise, it was smooth sailing.
step 4: Place the bouquet

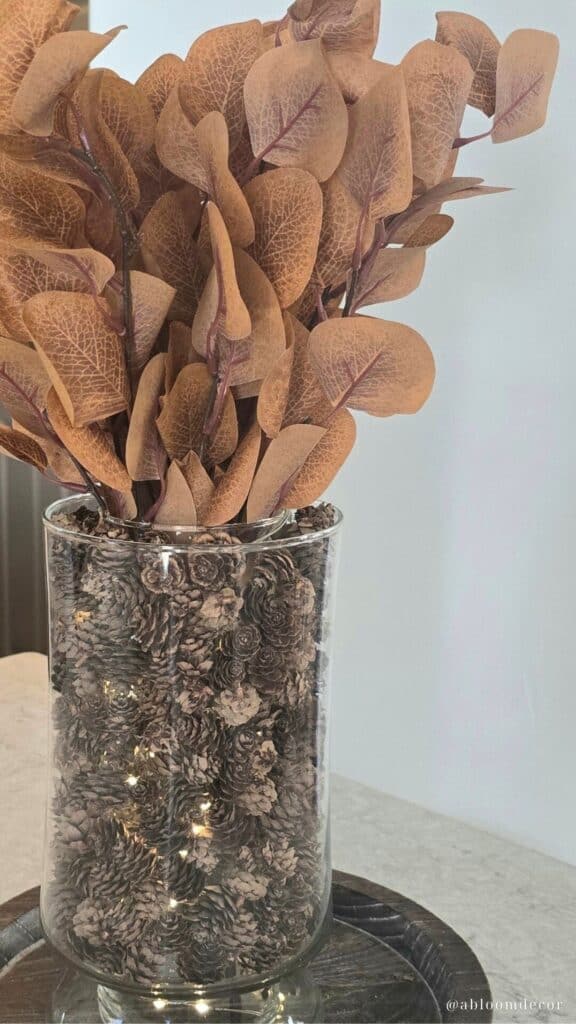
The last step is to place the bouquet inside the small vase, and fluff it until it looks just right.

Here’s the final look! It looks absolutely amazing at night when the sun has gone down and the room is dark.
How to Style The Centerpiece
This centerpiece looks great just about anywhere. It works perfectly as a centerpiece for a dining table, on the kitchen island, on an entryway table, or on a coffee table. Place it on a table runner, or a rustic tray to make the look feel complete.
One of my favorite hacks is to remove the bouquet and use the pinecone-filled vase up high on a shelf. This works well for me because I’m always nervous about glass near my toddler.
Similar Posts You’ll want to see
Conclusion
This glowing pinecone fall centerpiece has quickly become one of my favorite seasonal projects. It’s rustic, warm, and so easy to put together with just a few simple supplies.
Whether you place it on your dining table, coffee table, or entryway, it brings that welcoming autumn glow we all love.
I hope it inspires you to try making one of your own—it’s the kind of project that proves cozy doesn’t have to be complicated.
PIN IT TO REMEMBER IT
Don’t forget to pin this so you can refer back to it later!

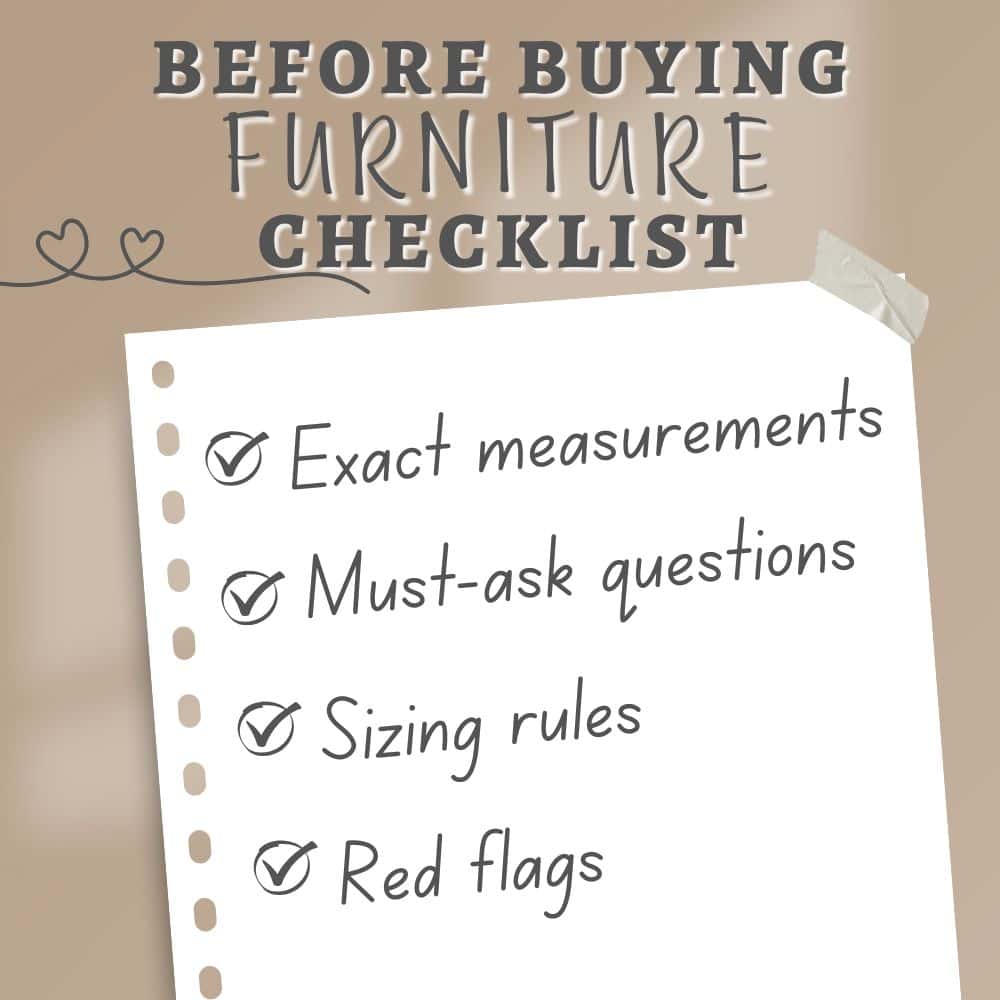
Before buying furniture, get this free checklist!
The measurements, sizing rules, and 10 must-ask questions that save you from returns, regrets, and wasted money.