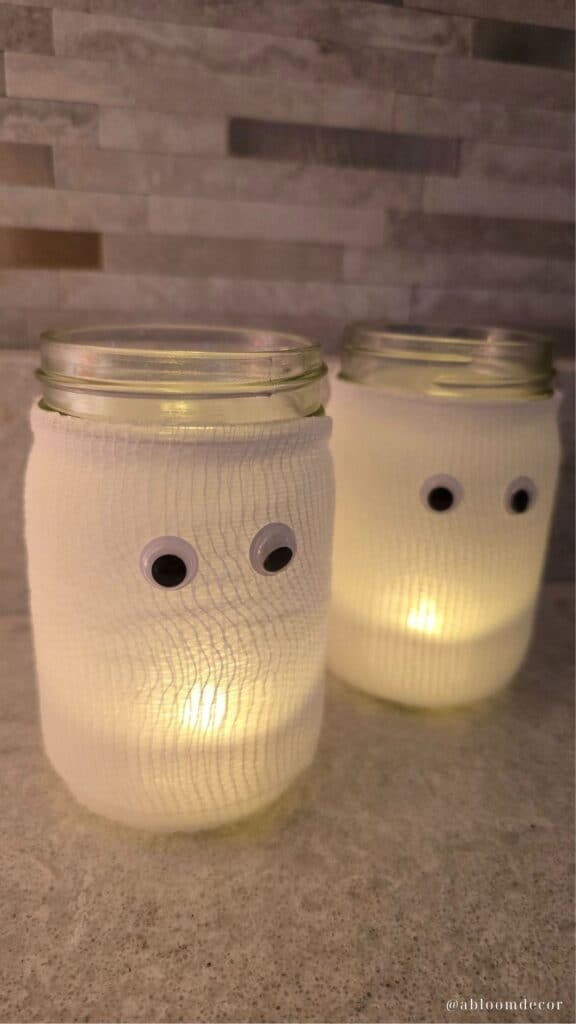
Quick DIY Halloween Ghost Mason Jars That Bring a Cozy Glow
This post is all about how I made these adorable, spooky Halloween ghost mason jars.
Every year when Halloween rolls around, I like to add a few new homemade decorations to my home. I’ve always loved quick, inexpensive, and fun projects—something that makes the house feel festive without taking hours to pull together.
Have you ever wondered what your home decor style is?
These DIY ghost mason jars were just that for me, and I couldn’t resist sharing them with you. They’re cute, a little spooky, and they glow in the coziest way when lit up at night.
You can save any of these images to your Pinterest account using the Pinterest share buttons on this page to easily find them again later.
DIY Ghost Mason Jars
Let’s jump into how to make the Halloween ghosts. First we’ll gather materials, do a little prep work, and then go through the full tutorial.
Gather Materials

Gather the following materials to complete this project:
- Mason jar
- Gauze bandage
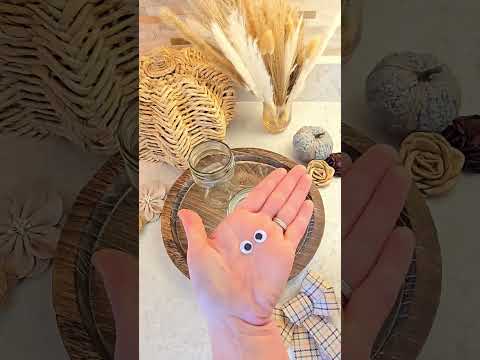
- Googly eyes
- Tea light
- Scissors
- Craft glue
Prep
The only prep you’ll need to do for this project is to cut a piece of gauze that you’ll use for the ghost. I cut an 18-inch piece of gauze for my ghost, and that was enough for me to wrap the gauze around the mason jar twice.
To get the perfect amount of gauze for your project, I recommend wrapping it around your jar as many times as you like and cutting it to that size.
How To Make Ghost Mason Jars
Here’s a step-by-step tutorial on how to make these spooky little ghosts:
Step 1: Apply a thin line of glue

The first step is to squeeze a thin line of glue from the base to the top of the mason jar.
step 2: Attach the gauze

Next, place one end of the gauze along the glue and gently press into place. Wrap the gauze around the mason jar until the other end is on top of the first glue line.
If the gauze doesn’t quite reach, you can try re-wrapping and pulling a little tighter. If the gauze is slightly too long, trim the end.
Step 3: Apply a second line of glue

Apply a second line of glue from the base to the tip of the mason jar. If possible, try to place the line directly above the first line of glue.
This way, there will only be one seam, and the ghost will have a seamless front.
Step 4: Press the gauze in place

Gently press the end of the gauze into the glue.
Step 5: Apply the eyes

Peel off the backing of the googly eyes and apply towards the top of the mason jar.
Step 6: Place the light

Lastly, turn on the tea light and place it inside the ghost!

And there you have it, an adorable spooky ghost you can enjoy all season!
How to Style Halloween Ghosts
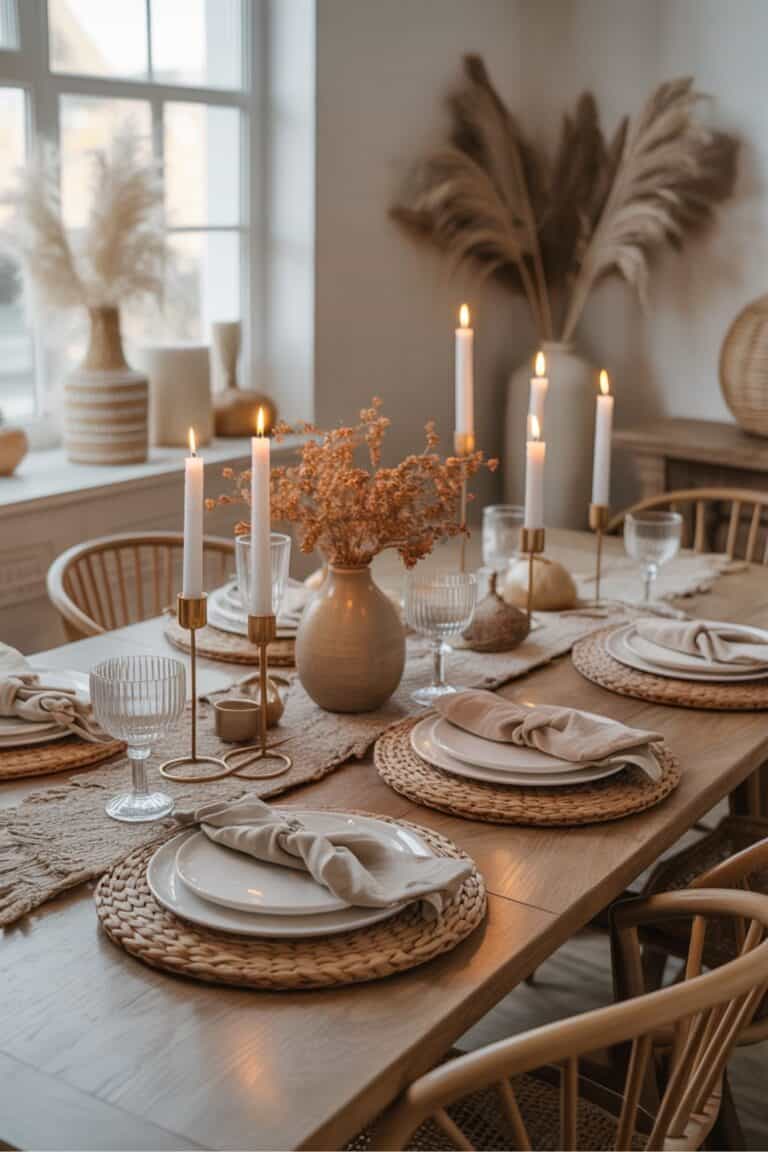
When it comes to styling these ghost mason jars, you really can’t go wrong. I like to group a few together on a shelf so they create a cozy, glowing cluster, but they also look adorable as a Halloween centerpiece on the dining table.
If you’re decorating outside, line them along your front steps or walkway to greet trick-or-treaters with a spooky little glow. You can even tuck them onto shelves or side tables for a playful surprise that catches the eye at night.
Conclusion
I had so much fun putting these ghost mason jars together, and I love how they make my space feel ready for Halloween.
The best part is that they’re budget-friendly and easy enough to make a whole set in one evening. They’d look great on a mantle, as a centerpiece, or even lined up along the walkway to greet trick-or-treaters.
If you try them, I think you’ll enjoy the warm lighting and playful charm they bring to your fall decor.
PIN IT TO REMEMBER IT
Don’t forget to pin this so you can refer back to it later!

Before buying furniture, get this free checklist!
The measurements, sizing rules, and 10 must-ask questions that save you from returns, regrets, and wasted money.