Adorable DIY Velvet Pumpkins That Look Straight Out of a Boutique
This post is all about how I made these cute DIY pumpkins from velvet yarn!
Fall is one of my favorite times to decorate because everything feels so cozy. This year, I really wanted to create something soft and textured to complement my candles and rustic accents.
Have you ever wondered what your home decor style is?
That’s how I ended up making these DIY velvet pumpkins, and let me tell you—they turned out better than I imagined! In this post, I’ll walk you through how I made them and share a few tips that made the process super simple.
You can save any of these images to your Pinterest account using the Pinterest share buttons on this page to easily find them again later.
DIY Velvet Yarn Pumpkins
Let’s jump into how to make the pumpkins. First we’ll gather materials, do a little prep work, and then go through the full tutorial.
Gather Materials

Gather the following materials to complete this project:
- Toilet paper roll
- Velvet yarn
- Cinnamon sticks
- Scissors
- Scotch Tape (optional)
Prep
To prepare for this DIY project, cut a ten-and-a-half-foot (126-inch) piece of velvet yarn. If you’d like to make more than one pumpkin, cut one piece of yarn per pumpkin.
How To Make DIY Pumpkins

Here’s a step-by-step tutorial on how to make these cozy yarn pumpkins:
Step 1: Cut the roll in half

The first step is to cut the toilet paper roll in half. You’ll only need one of these halves to make a pumpkin.
step 2: Cut slits into the roll

Cut slits into the toilet paper roll. The slits should be about 1/2-inch deep and 1/2-inch apart. Cut the slits around the entire roll on both sides.
Then, fold the slits inwards toward the center of the roll on both sides.
step 3: Wrap tape around the yarn

I found that wrapping the first 3 inches of yarn with Scotch tape made it much easier to thread the yarn through the roll. This step is optional, but I definitely recommend it!
step 4: Thread the yarn through the roll

Now we’ll get started making the pumpkin come to life! Slide the taped end of the yarn down through the top of the toilet paper roll, and pull it through the bottom.
Don’t pull the yarn all the way through; leave about 6 inches of yarn hanging out from the top of the pumpkin. We’ll use this extra yarn in a later step to tie both ends of the yarn.
step 5: wrap the yarn

Continue wrapping the yarn around the pumpkin by putting the taped end down the top and pulling it out from the bottom.
Use your fingers to adjust each loop of yarn so that subsequent loops sit right next to each other as closely as possible. This will help our pumpkin look full and orderly.
step 6: tie the yarn

Once you’ve wrapped the yarn around the entire pumpkin, tie the two ends together at the bottom of the pumpkin. It’s important to keep the knot on the bottom of the pumpkin so that it will be hidden once we’re finished.
step 7: cut the yarn

Cut the two ends of the yarn as close as possible to the knot, while being careful not to cut the knot itself.
step 8: place the stem

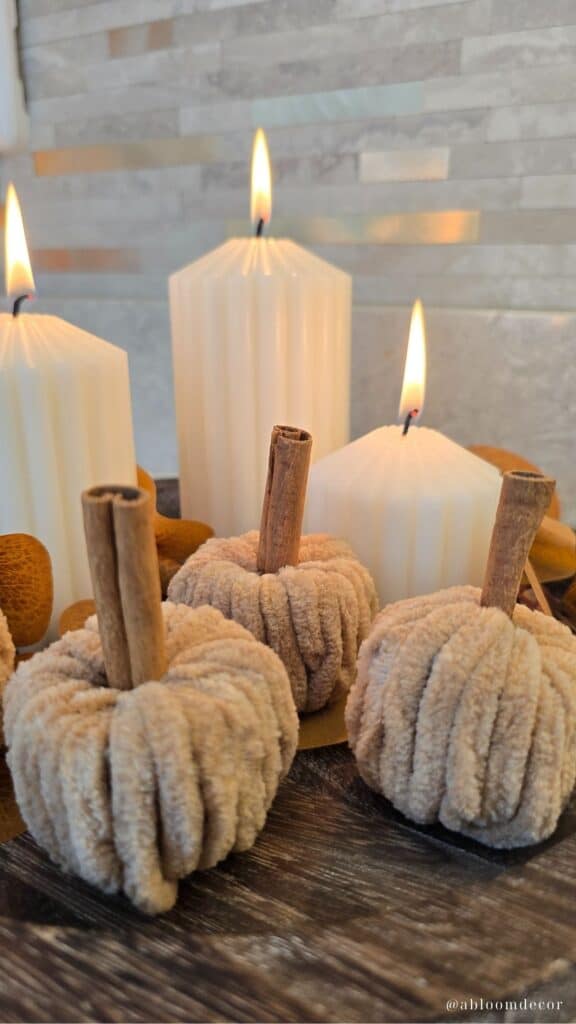
Lastly, take a cinnamon stick and place it in the center of the pumpkin!

And there you have it, an adorable velvet yarn pumpkin that took only a few minutes to make.
The first pumpkin I made took a little getting used to the process, but after one or two, it becomes second nature, and you can make a ton of these cuties!
How to Style These Pumpkins
The best thing about these pumpkins is that you can use them just about anywhere. They look great on a decorative tray arranged with a vase of fall stems, some cozy candles, and a stack of decorative books.
You can also place them on shelves, tables, or counters. I actually didn’t get to find a permanent home for my pumpkins because my daughter found and claimed them immediately.
She thought they were so soft and fun to play with, and since they were just made with toilet paper rolls and yarn, I didn’t have to worry about them breaking.
Conclusion
These DIY velvet pumpkins are such a sweet way to add a little seasonal charm to your home without spending much.
I love how they bring that cozy, high-end look while still being handmade. You can make a whole batch in an afternoon and use them for centerpieces, shelf styling, or even gifts.
If you’re looking for a fun fall project that’s easy, affordable, and beautiful—this one’s perfect.
PIN IT TO REMEMBER IT
Don’t forget to pin this so you can refer back to it later!

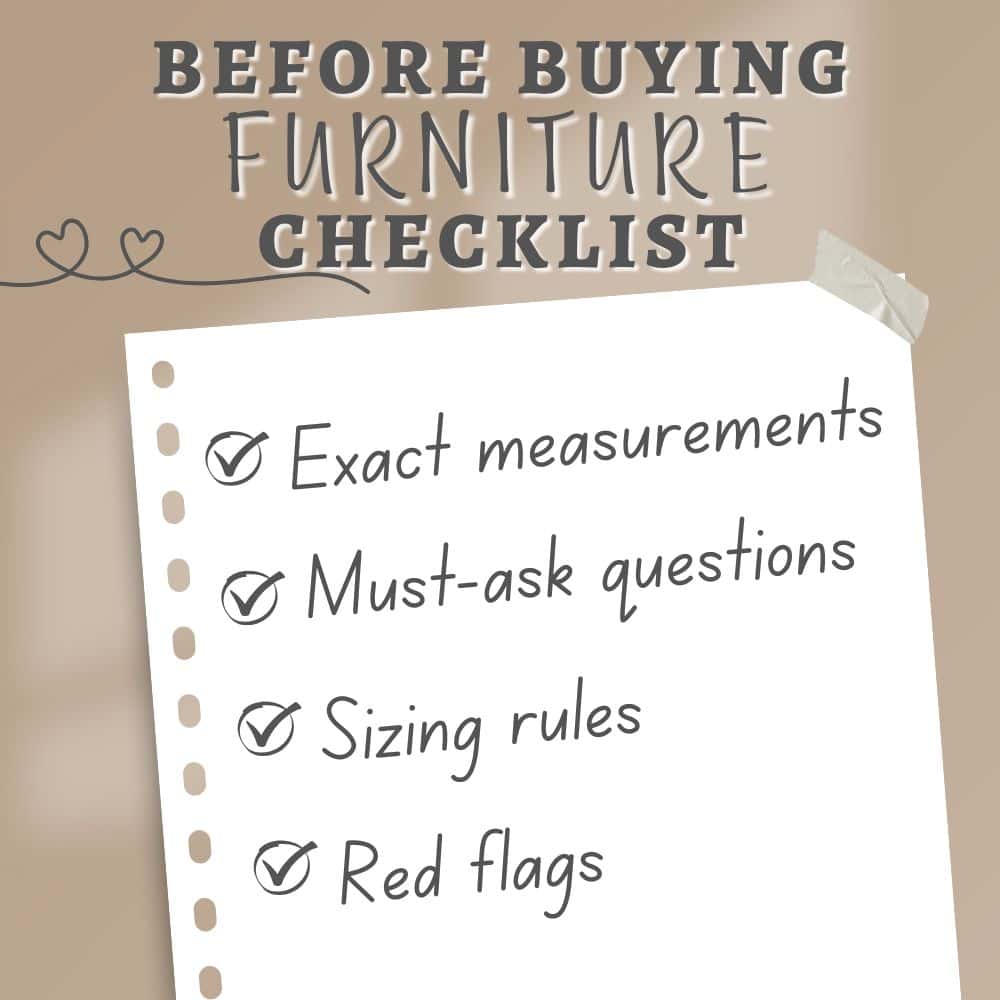
Before buying furniture, get this free checklist!
The measurements, sizing rules, and 10 must-ask questions that save you from returns, regrets, and wasted money.