Charming DIY Sock Pumpkins That Bring Instant Fall Vibes
This post is all about how I made these fluffy and cute DIY sock pumpkins.

If you’re looking for a quick and budget-friendly fall craft, these DIY sock pumpkins are the perfect project.
Have you ever wondered what your home decor style is?
They’re soft, cozy, and can be made in just a few minutes with supplies you probably already have at home. The best part is that you can customize them in any color or size to match your style.
In this post, I’ll show you how to make your own sock pumpkins and how easy it is to add handmade charm to your fall decor.
You can save any of these images to your Pinterest account using the Pinterest share buttons on this page to easily find them again later.
DIY Sock Pumpkins
Let’s begin making the pumpkins. First, we’ll gather materials, do some prep work, and then follow the full tutorial.
Gather Materials

Gather the following materials to complete this project:
- Socks
- Twine
- Poly filling
- Scissors
- Hot Glue
Prep
The only prep work for this cute DIY project is gathering all your materials and supplies!
How To Make DIY Pumpkins

Here’s a step-by-step tutorial on how to make sock pumpkins:
Step 1: Cut the sock

Cut the sock off at the ankle so that only the foot of the sock is left. Don’t worry if the cut is perfect; you can trim it later on.
Step 2: Stuff the sock

Grab about three large handfuls of poly-fil filling and stuff the sock.

Stuff the sock with filling until it is about the size you like. The more stuffing you use, the larger your pumpkin will be.
My daughter made her own sock pumpkin, using only a small handful of filling. Her pumpkin turned out to be adorably mini.
Step 3: Tie a knot

Once you feel you have enough stuffing, grab your twine and tie a knot at the base of the pumpkin.
The little bit of sock hanging out of the top is what we’ll use to form the pumpkin’s stem.
Step 4: Cut the twine

Cut ONLY the short end of the twine. Leave the long end attached to the spool so that we can make the stem.
Step 5: Wrap the pumpkin

Hold the pumpkin in one hand and use the other hand to tightly wrap the twine around it.
Once you get to the stem, wrap the twine all the way around the stem and then wrap the pumpkin again. This is how we make the little sections of the pumpkin.
Do this a total of four times, which will give you eight small pumpkin sections.
step 6: wrap the stem

Next, wrap the twine around the stem of the pumpkin, starting at the base and working your way to the tip of the stem.
Note that if your sock stem is really long, you can trim the sock so that your pumpkin’s stem looks just right.
Step 7: apply hot glue

Once you get to the tip of the pumpkin’s stem, apply a small amount of hot glue to the tip. Wrap the last few loops of twine around the stem so that they stick to the hot glue.
Step 8: Trim the twine

Cut the twine off at the tip of the pumpkin’s stem.
Step 9: Curve the Stem

Next, simply curve the stem with your thumb and fingers to achieve a slightly rounded shape. This makes the pumpkin look a bit more realistic.

And there we go, your pumpkin is all finished! It looks absolutely adorable. It’s the perfect fall decor for anyone with young kids because you can let them play with it without worrying about broken glass or decor.
How to Style Sock Pumpkins
Once you’ve made your sock pumpkins, the fun part is figuring out where to put them. I grouped a few on a wooden tray with candles and faux leaves for a cozy centerpiece.
They also look adorable lined up on a mantel or tucked into a tiered tray with other fall accents. If you like neutral decor, stick with soft grays, creams, and whites—or go bold with burnt orange and mustard yellow.
The best part is they’re lightweight, so you can move them around all season until you find the perfect spot.
Conclusion
These DIY sock pumpkins prove that you don’t need fancy supplies or complicated steps to create something beautiful for your home.
They add just the right amount of cozy fall charm, and the best part is that you can make them in any color to match your style.
Whether you’re decorating a dining table, a mantel, or a coffee nook, these little pumpkins fit right in. I hope this inspires you to grab some socks and give this project a try—you might end up making a whole patch like I did!
PIN IT TO REMEMBER IT
Don’t forget to pin this so you can refer back to it later!

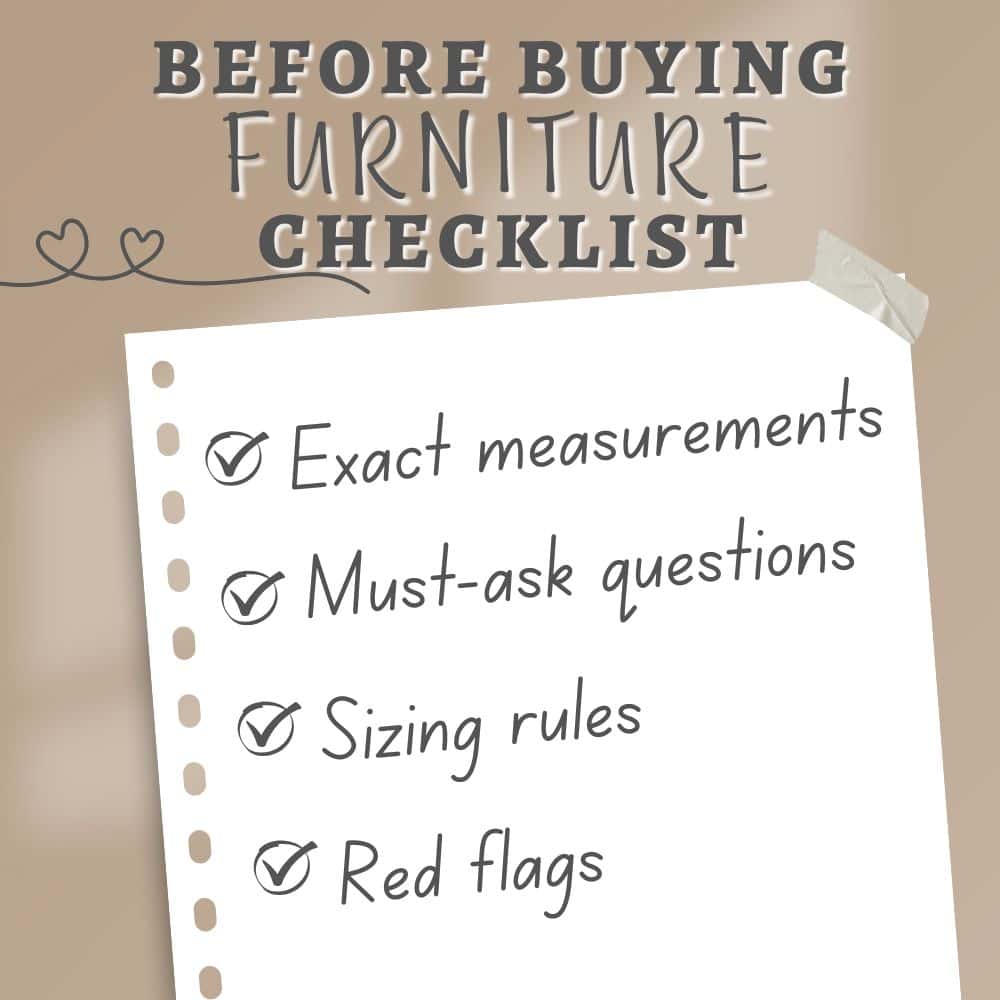
Before buying furniture, get this free checklist!
The measurements, sizing rules, and 10 must-ask questions that save you from returns, regrets, and wasted money.